Font Studio
Create custom hand-drawn fonts by drawing each character on a canvas. Perfect for personalized typography, artistic projects, or learning font design.
What is Font Studio?
Font Studio transforms your hand-drawn letters into fully functional OTF font files. Each character you draw becomes a glyph in your custom font, which you can:
- Download as OTF — Use in any design software
- Use directly in PinePaper — Apply to text items instantly
- Save your progress — Export/import font data as JSON
Opening Font Studio
Click the Font button in the left toolbar to open Font Studio.

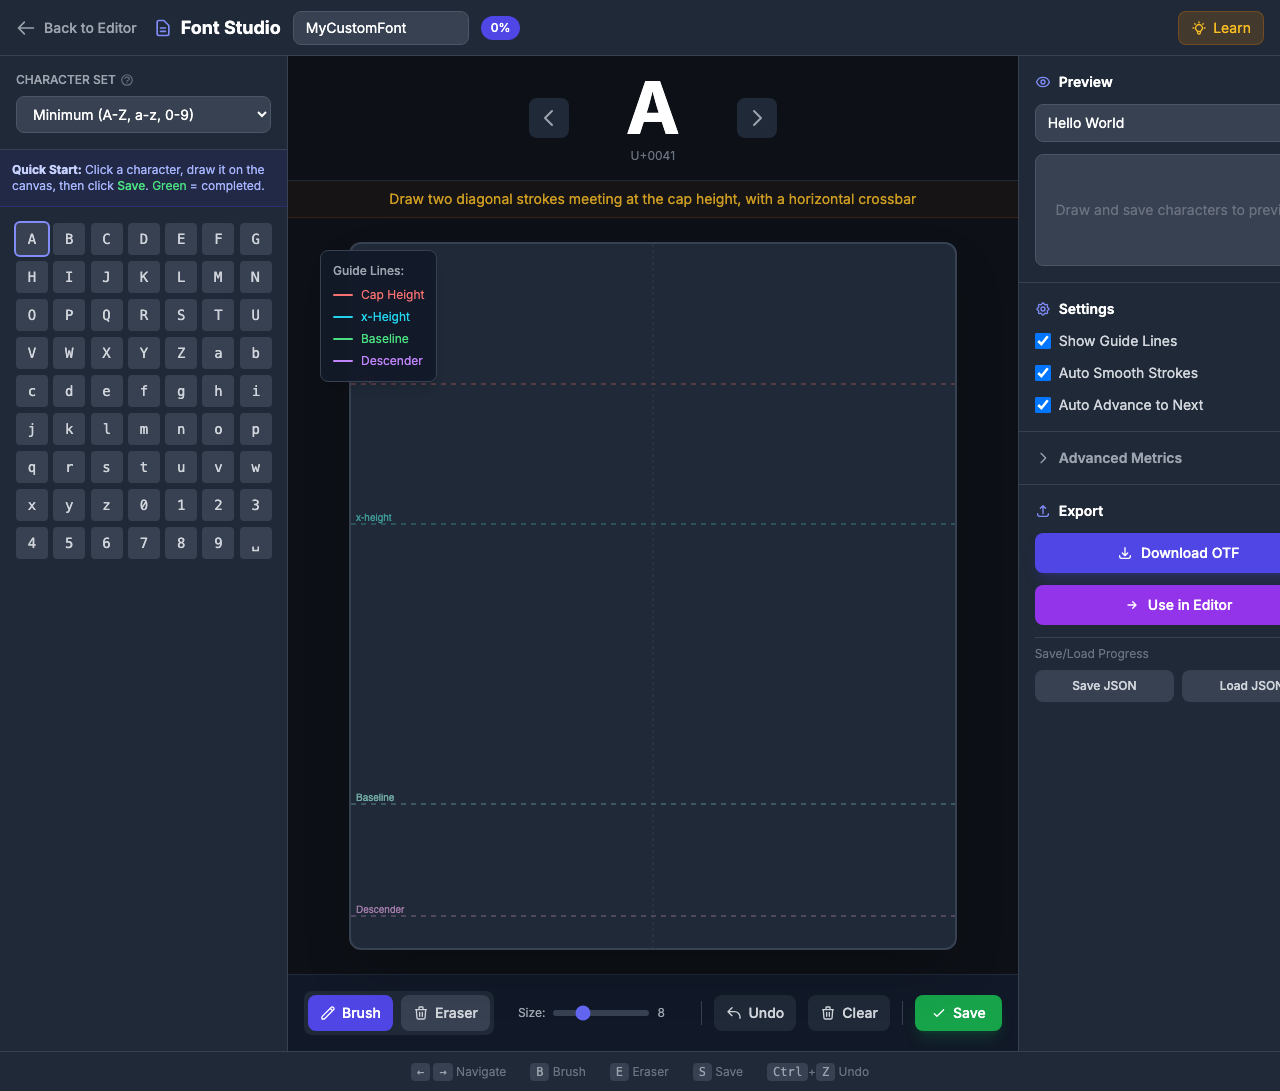
Interface Overview
Font Studio has three main areas:
Left Panel: Character Grid
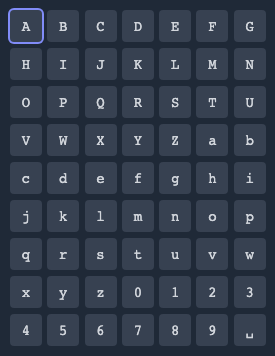
- Character Set: Choose between Minimum (63 chars) or Standard (90+ chars)
- Grid: Click any character to select it for drawing
- Completion Status: Green background indicates saved glyphs
Center Panel: Drawing Canvas
- Guide Lines: Colored lines showing font metrics
- Drawing Area: Draw your character here
- Tools: Brush, Eraser, Undo, Clear, Save
Right Panel: Preview & Export
- Preview: Type text to see your custom font
- Settings: Adjust font metrics
- Export: Download OTF or use in PinePaper
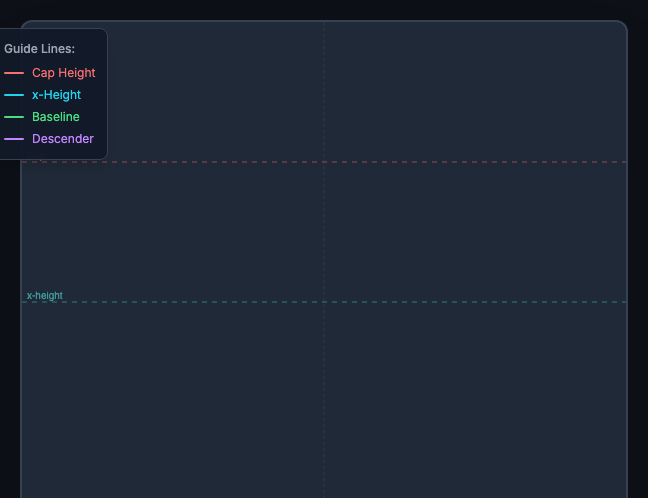
Understanding Typography Guide Lines
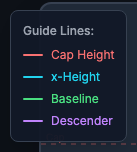
Font Studio displays four guide lines to help you draw consistent characters:
| Line | Color | Purpose | Characters That Use It |
|---|---|---|---|
| Cap Height | Red | Top of uppercase letters | A, B, C, H, T… |
| x-Height | Cyan | Top of lowercase letters | a, c, e, m, x… |
| Baseline | Green | Where letters “sit” | All letters |
| Descender | Purple | Below baseline | g, j, p, q, y |
Tips for Using Guide Lines
- Uppercase letters should touch the cap height and baseline
- Lowercase letters (a, c, e, m, etc.) stay between x-height and baseline
- Ascenders (b, d, f, h, k, l, t) extend from baseline to cap height
- Descenders (g, j, p, q, y) dip below the baseline to the descender line
Drawing Characters
Step-by-Step Guide
- Select a character from the grid (or use arrow keys to navigate)
- Read the tip displayed above the canvas for drawing guidance
- Draw the character using the brush tool
- Click Save to store your glyph (or press S)
- Continue to the next character
Drawing Tools
| Tool | Shortcut | Description |
|---|---|---|
| Brush | B | Draw strokes (adjust size with slider) |
| Eraser | E | Click strokes to remove them |
| Undo | Ctrl+Z | Remove last stroke |
| Clear | — | Clear all strokes |
| Save | S | Save drawing as glyph |
Brush Size
Adjust the brush size slider for different stroke weights:
- 4-8: Fine details, thin strokes
- 8-12: Regular weight (recommended)
- 12-18: Bold weight
Consistency Tip: Use the same brush size for all characters to create a uniform font weight.
Learning as You Draw
Font Studio includes built-in learning features:
Character Tips
Each character displays specific drawing guidance:
- “A”: “Draw two diagonal strokes meeting at the cap height, with a horizontal crossbar”
- “g”: “Small bowl at x-height, descending loop below baseline”
- “0”: “Oval shape, slightly narrower than the letter O”
Learn Button
Click the Learn button in the header to show/hide a comprehensive typography guide explaining:
- What each guide line represents
- Font terminology (ascender, descender, x-height)
- Tips for consistent font creation

Character Sets
Minimum Set (63 characters)
Essential characters for basic text:
- A-Z (26 uppercase)
- a-z (26 lowercase)
- 0-9 (10 digits)
- Space (1)
Standard Set (90+ characters)
Adds punctuation for complete sentences:
- All minimum characters
!?.,;:'"-()@#$%&*+=/\[]{}|<>~^_
Quick Start: Complete the minimum set first to have a usable font, then add punctuation as needed.
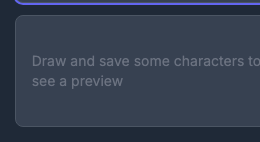
Previewing Your Font
The preview panel shows your custom font in action:
- Type text in the Preview Text field
- Your custom glyphs render below
- Missing characters show as empty boxes
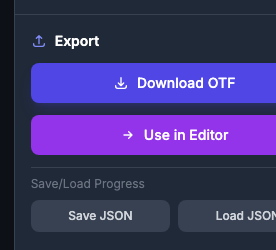
Exporting Your Font
Download as OTF
- Complete at least the minimum character set
- Click Download OTF
- Save the font file to your computer
- Install and use in any application
Use in PinePaper
- Click Use in PinePaper
- Your font is immediately available in the font picker
- Create text items with your custom font
Save/Load Progress
Font creation takes time. Save your progress:
- Click Save Progress to download a JSON file
- Later, click Load Progress to continue where you left off
Keyboard Shortcuts
| Key | Action |
|---|---|
| ← → | Navigate characters |
| B | Brush tool |
| E | Eraser tool |
| S | Save glyph |
| Ctrl+Z | Undo stroke |
| Esc | Close Font Studio |
Tips for Great Fonts
Stroke Consistency
- Use the same brush size for all characters
- Keep stroke weight uniform throughout each letter
- Thinner strokes (6-8) for regular weight, thicker (12-16) for bold
Proportion Tips
- Uppercase should be taller than lowercase
- Numbers are often slightly shorter than capitals
- Punctuation typically aligns with lowercase height
Common Mistakes to Avoid
- Inconsistent stroke width — Use the same brush size
- Ignoring guide lines — Characters will look uneven
- Forgetting the space — Every font needs a space glyph!
- Rushing — Take time for each character
Settings
Font Studio includes several settings to customize glyph processing:
Basic Settings
| Setting | Default | Description |
|---|---|---|
| Show Guide Lines | On | Display typography guide lines |
| Show Template Overlay | On | Show faint reference character |
| Auto Smooth Strokes | On | Simplify hand-drawn curves |
| Auto Advance to Next | On | Move to next character after save |
Path Processing Settings
| Setting | Default | Description |
|---|---|---|
| Normalize Glyph Size | On | Scale glyphs to consistent size for proper font rendering. Disable to preserve exact drawing proportions. |
| Remove Overlaps | On | Merge overlapping strokes into clean outlines. Essential when strokes cross each other. Based on FontForge’s RemoveOverlap. |
| Correct Winding | On | Fix path direction for proper fill rendering. Outer contours clockwise, inner holes counter-clockwise. Based on FontForge’s CorrectDirection. |
Recommended: Keep all path processing settings enabled for professional font output. Disable only if you have specific needs.
Font Metrics (Advanced)
For precise control, adjust font metrics in Settings:
| Metric | Default | Description |
|---|---|---|
| Units Per Em | 1000 | Coordinate grid size |
| Ascender | 800 | Height above baseline |
| Descender | -200 | Depth below baseline |
Advanced Users Only: Changing metrics affects how your font scales. The defaults work well for most use cases.
Troubleshooting
My font looks jagged
- Enable Auto-Smooth in settings for smoother curves
- Draw strokes slowly and deliberately
Characters don’t align
- Follow the guide lines carefully
- Check that all letters sit on the baseline
- Verify uppercase touches cap height, lowercase touches x-height
Export fails
- Ensure at least one character is saved
- Check that your font has a name
Copyright & Licensing
You Own Your Fonts
When you create a font using Font Studio, you own the copyright to your original glyph designs. The OTF file you export is your intellectual property.
What this means:
- You can use your font for personal projects
- You can use your font commercially (business logos, products, etc.)
- You can distribute your font to others
- You can sell your font if you choose
- You can license your font under any terms you decide
Understanding Font Files
An OTF (OpenType Font) file is a standard font format recognized by all major operating systems and design software. When you download your font:
- Install it on your computer like any other font
- Use it in Word, Photoshop, Illustrator, web projects, etc.
- Share it with collaborators or clients
- Embed it in documents and websites
Learn More About Font Licensing
If you plan to distribute or sell your fonts, understanding font licensing is important:
| Resource | Description |
|---|---|
| SIL Open Font License | Popular open-source font license |
| Google Fonts Licensing | How open fonts work |
| Font Licensing Basics | Introduction to font licensing |
| OpenType Specification | Technical font format details |
Embedding Metadata
Your font includes basic metadata:
- Font Name: The name you specify in Font Studio
- Created By: Can be set in advanced settings
- Version: 1.0 by default
Pro Tip: If you plan to distribute your font, consider adding your name/studio in the font name (e.g., “MyStudio Handwriting”) to maintain attribution.
Important: While you own your original glyph designs, ensure your font name doesn’t infringe on existing trademarks. Avoid names similar to well-known commercial fonts.
Related
- Text Tool — Use custom fonts in your designs
- Animations — Animate text with custom fonts
- Export Overview — Export designs with custom fonts