Interface Overview
Learn the main areas of the PinePaper Studio interface.
Main Areas
1. Toolbar

The toolbar at the top contains:
| Tool | Shortcut | Description |
|---|---|---|
| Select | V | Select and move items |
| Text | T | Create text elements |
| Draw | B | Freehand drawing (pen, ink, marker, spray, eraser, fill) |
| Arrow | A | Create connecting arrows |
| Magic | - | Auto-animate (click) or remix colors (shift+click) |
2. Canvas
The central workspace where you create your designs.
- Default size: 800 × 600 pixels
- Change size: Click the canvas size dropdown in the footer
- Infinite canvas: Choose “Unbounded” for a canvas with no boundaries
- Zoom: Use mouse wheel or zoom controls
- Pan: Hold Space and drag
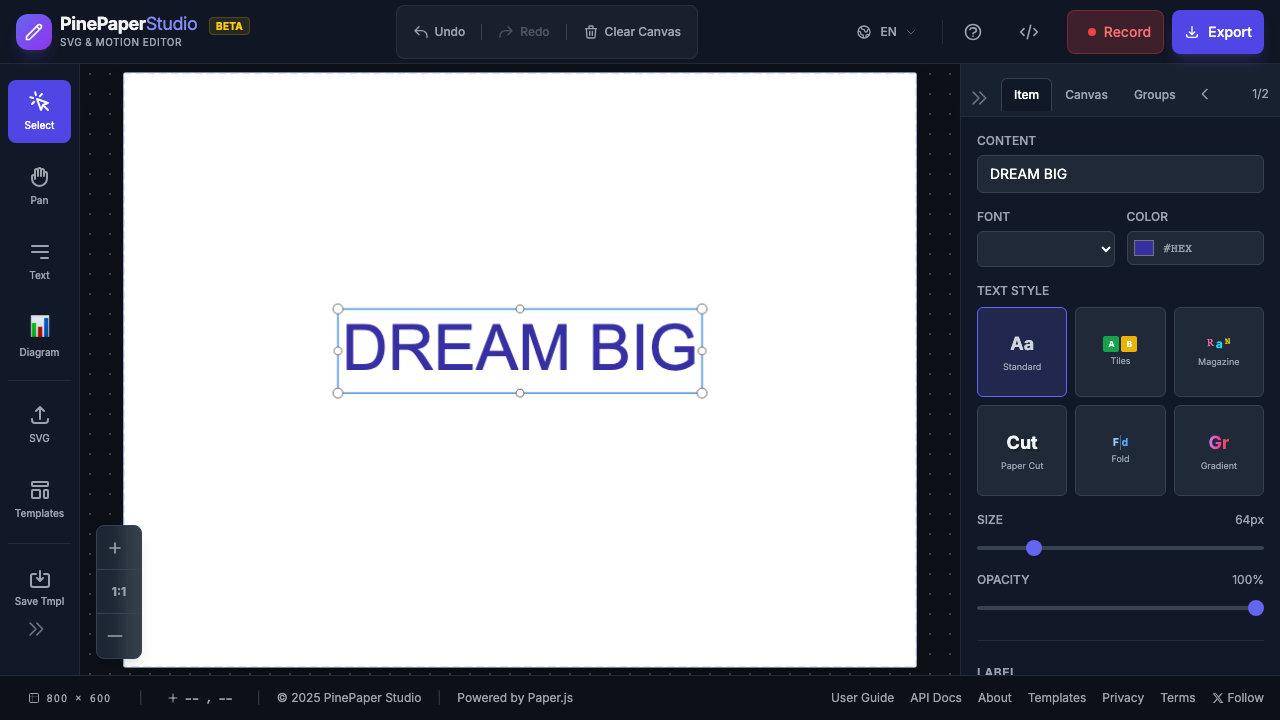
3. Properties Panel
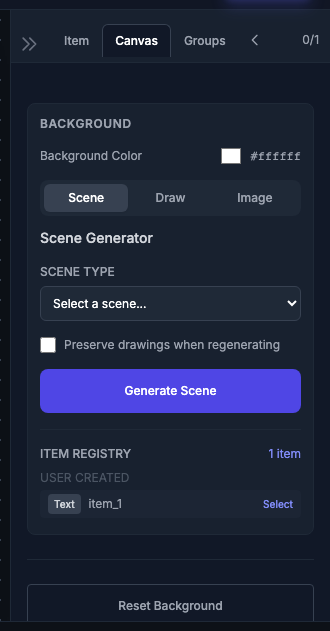
Located on the right side, the properties panel shows:
- Font settings — Size, family, color
- Position — X, Y coordinates
- Animation — Type and speed
- Effects — Sparkle, blast
4. Timeline Panel
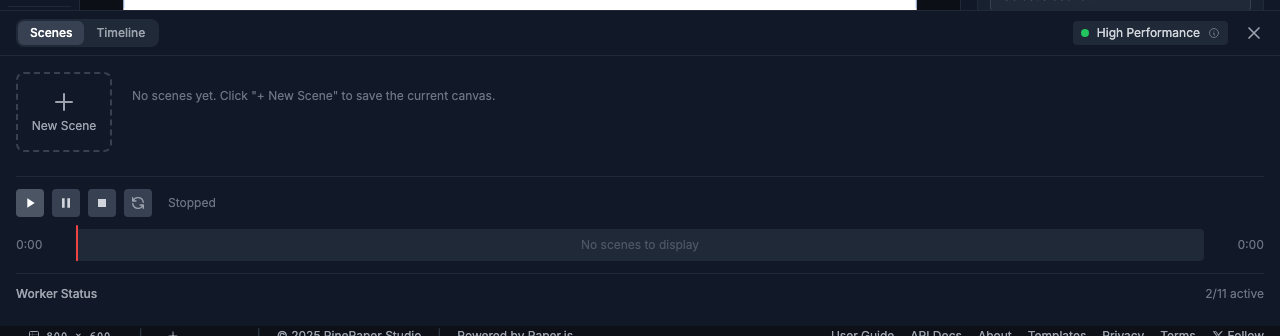
At the bottom of the screen:
- Keyframe editor — Set animation keyframes
- Playback controls — Play, pause, scrub
- Duration settings — Animation length
5. Footer Bar

The footer shows:
- Canvas size — Current dimensions
- Zoom level — Current zoom percentage
- View controls — Fit, reset zoom
Welcome Banner
When you first open PinePaper Studio, a compact welcome banner appears at the bottom of the screen. The canvas remains fully visible and interactive behind it.

The banner offers three options:
| Action | Description |
|---|---|
| Take a Quick Tour | Starts a 6-step interactive tutorial (~2 min) |
| Guide | Opens this user guide in a new tab |
| × | Dismisses the banner |
The banner automatically dismisses after 15 seconds if you don’t interact with it. You can also press Esc to dismiss it.