Character Rigging
Create skeletal animations by attaching items to bones and manipulating them with forward kinematics (FK) or inverse kinematics (IK). Perfect for character animation, puppet-style movements, and mechanical rigs.
Concepts
| Term | Description |
|---|---|
| Skeleton | A hierarchy of connected bones |
| Bone | A segment with position, length, and angle |
| FK (Forward Kinematics) | Rotate parent bones, children follow |
| IK (Inverse Kinematics) | Drag an end effector, bones solve automatically |
| Pose | A saved snapshot of all bone angles |
| Rig Preset | A pre-built skeleton template for common characters |
Creating a Skeleton
- Open the rigging tools from the toolbar
- Click on the canvas to place the skeleton root
- Add bones by clicking to define their length and direction
- Each new bone connects to the previously selected bone
Bone Hierarchy
Bones form a parent-child tree:
Hip (root)
  ├── Spine
  │     ├── Left Arm
  │     │     └── Left Hand
  │     └── Right Arm
  │           └── Right Hand
  ├── Left Leg
  │     └── Left Foot
  └── Right Leg
        └── Right Foot
When a parent bone rotates, all its children move with it.
Attaching Items to Bones
Once you have a skeleton, attach your artwork to the bones:
- Select the item you want to attach
- Choose which bone to attach it to
- Set the attachment point (0 = bone base, 1 = bone tip, 0.5 = middle)
- The item now follows the bone’s movement
Tip: Draw your character pieces as separate items (head, torso, arms, legs), then attach each piece to the appropriate bone.
FK Manipulation
Forward Kinematics lets you rotate individual bones:
- Enable the Rigging Overlay to see bones on the canvas
- Click and drag a bone to rotate it
- All child bones follow the rotation
- The attached items move with their bones
This is the most direct way to pose a character - rotate each joint manually.
IK Chains
Inverse Kinematics lets you drag the end of a limb and the joints solve automatically:
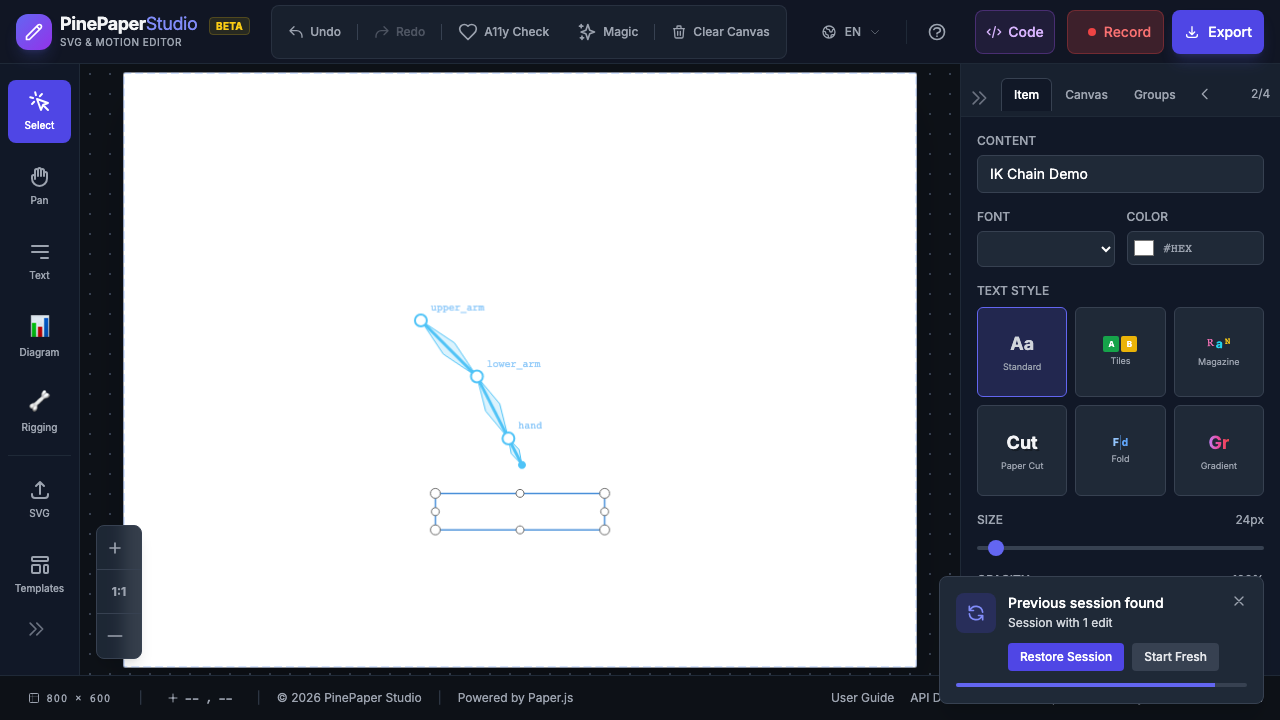
- Create an IK chain by selecting a sequence of bones (e.g., upper arm -> lower arm -> hand)
- An IK target handle appears at the chain’s end
- Drag the handle to a target position
- The bones automatically solve to reach the target
IK is perfect for:
- Making a hand reach for an object
- Keeping feet planted on the ground while the body moves
- Creating natural-looking walk cycles
Pose System
Save and recall bone configurations:
- Save Pose - Captures all bone angles as a named pose (e.g., “idle”, “walk_1”)
- Load Pose - Restores a previously saved pose
- Interpolate - Blend between two poses for smooth transitions
Timeline Integration
Poses can be keyframed on the timeline:
- Set a pose at time 0 (e.g., “idle”)
- Set a different pose at time 1 (e.g., “walk_1”)
- Play the timeline - bones interpolate smoothly between poses
Character Presets
Pre-built skeleton templates for common character types:
| Preset | Bones | Description |
|---|---|---|
| Humanoid | 20 | Full body with spine, arms, legs, and IK chains |
| Quadruped | 13 | Four-legged animal with horizontal spine and tail |
| Spider | 19 | Body with 8 legs, each with its own IK chain |
| Simple Arm | 3 | Upper arm, lower arm, and hand |
| Snake | 10 | Chain of spine bones for serpentine motion |
| Chain | 5 | Generic pendulum or rope |
| Bird | 15 | Wings, tail feathers, and neck with IK |
| Fish | 14 | Spine chain with tail fin and pectoral fins |
| Hand | 17 | Five fingers with individual joint control |
| Centaur | 29 | Human torso on quadruped body |
To use a preset:
- Open rigging tools
- Select a preset from the preset menu
- Position the skeleton on your canvas
- Attach your artwork to the bones
Visual Overlay
Toggle the bone visualization overlay to see and interact with skeletons:
- Show/Hide - Toggle the overlay on and off
- Bones are drawn as lines with joint circles
- Selected bones highlight in a different color
- IK targets appear as draggable handles
Tip: Hide the overlay before exporting - bones are only for editing and won’t appear in your final export.
Additional IK Solvers
Beyond the default FABRIK solver, two additional solvers are available:
| Solver | Best For | How It Works |
|---|---|---|
| Two-Bone | Arms and legs | Analytical closed-form solution using law of cosines. Fast and precise for two-segment chains. |
| CCD | Tails, tentacles, long chains | Cyclic Coordinate Descent iteratively adjusts each joint. Handles any chain length. |
Pole Vectors
Control which direction joints bend by setting a pole vector. For example, set a pole vector in front of the knee to ensure legs always bend forward, or behind elbows for natural arm bending.
Bone Deletion
Delete bones with the Delete or Backspace key when a bone is selected. Child bones are automatically reparented, IK chains are cleaned up, and attached items are detached.
Path Skinning
Deform curved paths using weighted bone influences (2D Linear Blend Skinning):
- Create a path or shape on the canvas
- Use
skinPath()to attach it to nearby bones - Per-vertex weights are auto-computed based on proximity
- Moving bones deforms the path smoothly
This is useful for clothing, hair, or organic shapes that need to follow bone movement.
Secondary Motion
Add physics-based follow-through to bone chains using the spring_follow relation:
- Stiffness — how quickly the chain returns to rest
- Damping — how quickly oscillations settle
- Mass — inertia of each segment
Use addSecondaryMotion() to set up spring chains on tails, hair, capes, or other dangling elements.
Procedural Animations
One-call helpers for common character behaviors:
| Helper | Effect |
|---|---|
autoBreath() |
Subtle chest/torso expansion cycle |
autoIdle() |
Small weight-shifting idle animation |
autoWalk() |
Looping walk cycle from pose library |
autoJump() |
Physics-based jump with parabolic arc and landing compression |
These create pose layers that blend with manual or keyframe animation.
Tips for Best Results
- Plan your hierarchy - Sketch the bone structure before building
- Use IK for limbs - Arms and legs benefit most from IK solving
- Save poses frequently - Build a library of poses for animation
- Start with presets - Use character presets as starting points, then customize
- Keep bones short - Shorter bones give more control over curves and bends
Related: Animations | Keyframe Editor | Relations